In this guide
- Choose the right reference
- Identify body measurements versus garment measurements
- Make your measuring setup boring and repeatable
- Compare width with width
- Pay attention to sleeve endpoints
- Read the shape between the numbers
- Account for care without predicting shrinkage
- Make a shortlist with reasons
- Confirm the choice before committing
A size chart becomes useful when you know what it measures and can compare it with a garment you already like. Start there, rather than ordering your familiar letter size and hoping that every brand means the same thing.
Your reference garment does not need to be new or expensive. It needs to represent the fit you want for the item you are considering, with the same basic category and a reasonably similar way of wearing it.
Choose the right reference
If you are buying an untucked casual shirt, use an untucked casual shirt that works for you. A slim dress shirt worn under a suit may answer a different question even if both garments have collars and buttons.
Try the reference on before measuring it. Confirm that you still like its chest room, sleeve movement, body length, and appearance with the pants you normally pair with it.
Be honest about what you would change. You can write that the body is good but the sleeves feel slightly long, which is more helpful than treating the whole garment as a perfect template.
Also note its fabric and whether it has been washed or altered. You want to compare the garment you have, not an imagined original version based on its tag.

Identify body measurements versus garment measurements
Read the chart heading and any measurement instructions before using your tape. A chest number may describe the person the brand expects to wear the shirt, or it may describe the shirt itself.
Those are not interchangeable values. Clothing generally has room and shaping built into it, so a garment circumference is not simply a duplicate of your body circumference.
If the chart says body measurements, follow the brand’s body-measuring method. If it says garment measurements, measure the reference using the garment method the brand provides.
When the wording is unclear, ask customer service a precise question about the exact item. You can say that you want to know whether the listed chest figure is a body circumference or a finished-garment measurement.
Make your measuring setup boring and repeatable
Use a flat surface large enough to support the garment without part of it hanging over an edge. Fasten the closures the instructions call for, smooth the fabric, and keep the tape level along the required path.
Measure without stretching the garment to reach a preferred number. If the fabric is elastic, record whether the brand asks for a relaxed measurement or a stretched one rather than choosing your own convention.
Write down the unit next to every number. A short note such as chest width in inches prevents a later comparison with centimeters or a circumference from becoming an unnecessary puzzle.
Take each key measurement twice if the first reading seems uncertain. If the results differ, reset the fabric and tape placement instead of averaging two measurements taken with different endpoints.
Compare width with width
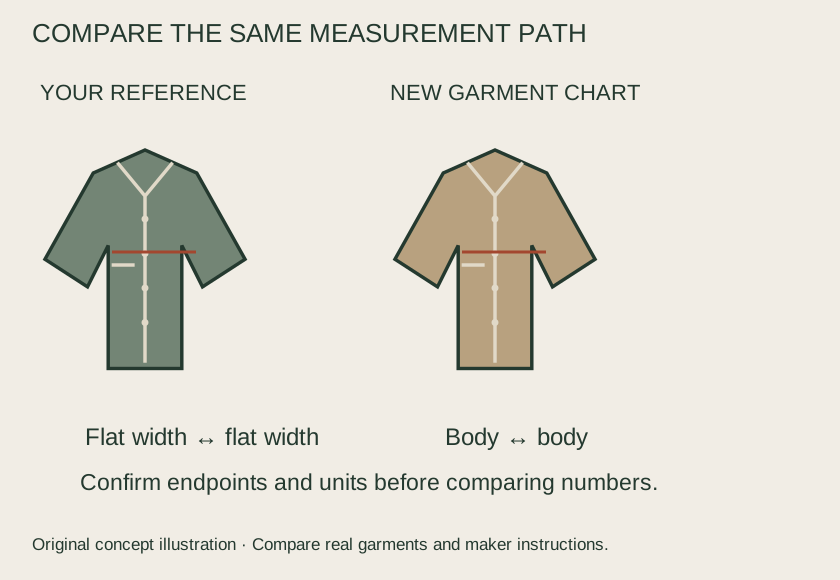
For a shirt’s flat chest width, follow the specified location across the garment rather than assuming every brand measures at exactly the same point. Read whether the chart gives that flat width or a full circumference.
You may be able to double a flat width for a simple circumference comparison, but only after confirming that both charts describe the same thing. Shaping, placement, and the maker’s measurement convention still matter.
Proper Cloth’s measurement material distinguishes individual garment dimensions and their specific measuring paths. The useful lesson is to preserve those definitions rather than treating every number under chest as equivalent.
Record a comparison in plain language as well as numbers. For example, the new shirt is listed a little wider at the chest but similar at the hem, which tells you more about the likely shape than saying it is larger everywhere.
Pay attention to sleeve endpoints
Sleeve measurement is an easy place to make a convincing-looking mistake. Some makers start at the center back of the neck, while others describe a shoulder-to-cuff distance.
Proper Cloth explicitly explains its center-back convention, so use the illustrated path when comparing with that maker. A shoulder-only measurement cannot be placed beside it as if the difference were all extra sleeve length.
Check whether the arm should lie straight or slightly bent for a body measurement. Follow the exact instructions rather than combining a posture from one guide with endpoints from another.
If you need help, ask another person to position the tape while you hold a normal posture. A clear measurement is worth more than a heroic solo effort that lets the tape slip around your back.
Read the shape between the numbers
A shirt can be generous at the chest and narrow through the midsection, or relatively straight from chest to hem. Similar chest measurements do not guarantee that the body will hang the same way.
Compare the dimensions that explain your own fit concerns. If you struggle with a tight upper arm, an overall size label and chest number may not give you the information you need.
For pants, look at rise, seat, thigh, and opening when those figures are available. If the chart provides only body waist and inseam, recognize what remains unknown instead of inventing the missing shape.
You can ask the retailer for a specific finished-garment measurement or choose a purchase with return conditions that suit the uncertainty. The chart is a tool for reducing guesswork, not a guarantee of comfort.
Account for care without predicting shrinkage
Check the item’s care instructions and any manufacturer statement about fit after washing. Do not apply a shrinkage percentage from another fabric or assume that buying a size up is always the solution.
Your reference garment may already reflect repeated washing, whereas a chart may describe a new finished item. That difference is worth asking about when the fit is close and the care process is important to your decision.
Avoid planning to shrink a garment deliberately to correct several unrelated fit problems. A controlled sleeve or body change should not be assumed just because a material sometimes changes under unsuitable care.
Likewise, do not expect a tight waistband or upper sleeve to become comfortably larger without documented reason. Choose a workable base fit and follow the garment’s instructions instead of treating laundry as a tailoring service.
Make a shortlist with reasons
Compare the two most plausible sizes rather than spreading your attention across an entire chart. Note which dimensions improve in the larger size and which might move away from your preference.
If both sizes solve one problem while creating another, look at a different cut. A size decision cannot always compensate for a garment shape that does not suit the result you want.
Give priority to the dimensions connected with comfort and normal movement. You may accept a slightly longer untucked hem while refusing a sleeve that prevents you from reaching, and that is a sensible personal tradeoff.
Save your reasoning with the item name and date. If the brand later changes its chart, cut, or fabric, you will know which version your old decision referred to.
Confirm the choice before committing
When the garment arrives, compare it physically with your reference and try it on with the intended outfit. Repeat the same seated and reaching checks you used when choosing the reference.
A small measurement difference can feel unimportant, while a similar number can hide a noticeable change in fabric or shape. Let the actual garment finish the decision rather than feeling obliged to like it because the spreadsheet looked right.
Keep the packaging and tags until you understand the seller’s return process and have settled the fit. Do not assume that washing, wearing outside, or alterations leave the same options available.
Once you find a successful combination, retain the useful measurements and measuring method. You will have a practical reference for future shopping while remembering that a familiar size is a starting clue, not a universal standard.
Sources & editorial notes
Primary pages checked October 22, 2026. Practical scenarios and style judgments are editorial explanations; exact garment and product instructions take priority.